
Using cpmtools under Windows may be a PITA, especially if you are dealing with custom disk image formats. Thankfully, you can install a full-fledged Linux distro inside your Windows box, without the need to juggle with virtual machines. Enter WSL, or Windows Subsystem for Linux. It enables you to have a pretty seamless integration between Windows and Linux on the same machine, in the same terminal (command prompt) window. This tutorial is based on Windows 11, but before the upgrade I was using it successfully on Windows 10, so you can find a tutorial how to install WSL on Win10 somewhere else, and then return here.
I will be mainly using PowerShell, but same commands can be executed in plain Windows Command prompt (cmd.exe) window.
First, install WSL, by running the command wsl.exe --install
You will be presentetd with a UAC prompt, as installation requires elevated access.
After the installation completes, reboot the machine.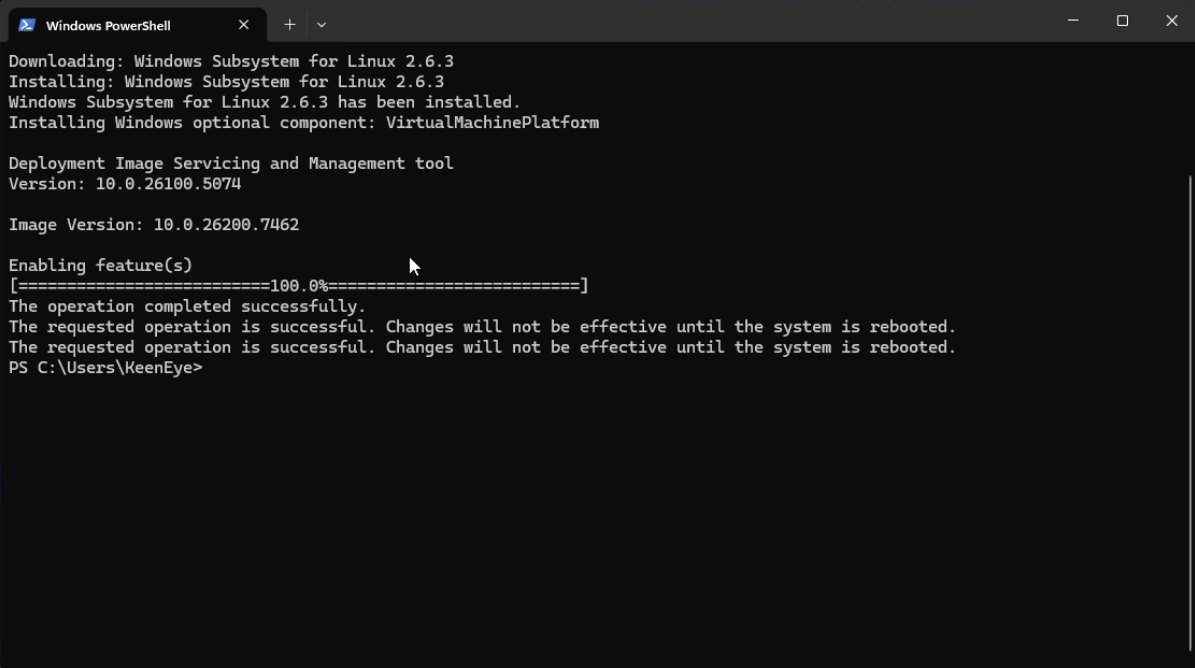
Next, you have to install a Linux distribution. You can select which one by running wsl.exe --list --online
The default, if you don’t select which one, will be Ubuntu, but I like to use Debian. Type wsl.exe --install Debian and wait until the installation is complete.
You will be prompted to enter a user name and password for the Linux distribution. Remeber the password. It doesn’t have to be the same as your Windows username or password.
Next, you will see that the prompt changed – you are now running Linux on your Windows terminal!
Type sudo apt update. This will update the list of Linux packages that are available for your distribution. Next, type sudo apt upgrade which will do a upgrade of the installed packages.
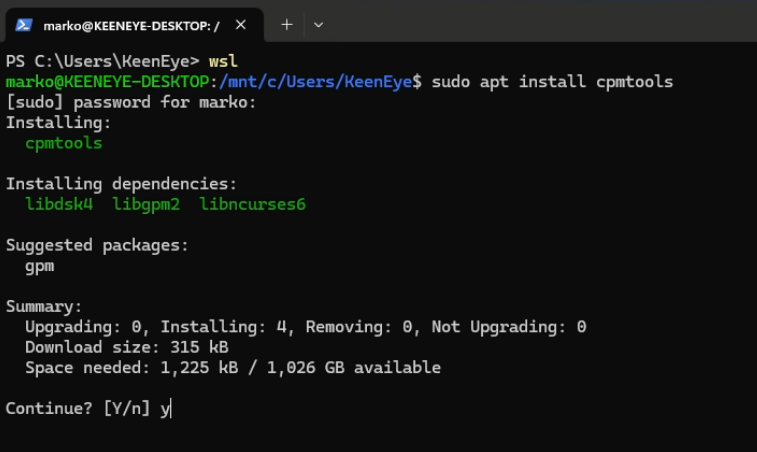
Type sudo apt install cpmtools. This will install cpmtools and its dependencies. Close the terminal window after the installation completes.
 Next, grab Žarko’s TIM011 Tools from https://bitbucket.org/zzarko/tim011-tools/src/master/ – you need
 timdisk.sh, diskdefs and empty.img and put them in a folder on any of your disks. This will be your base folder.
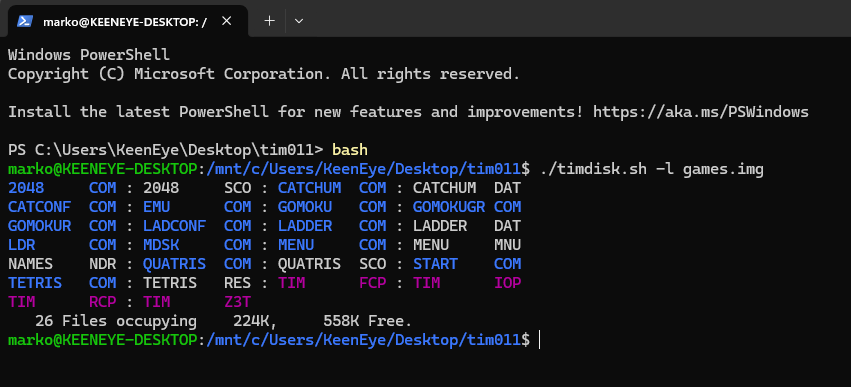
If you are using Windows 11, you can use the inbuilt File Explorer to browse to the folder you just created, right click on it, and choose “Open in Terminal”. Type bash, this will get you to the Linux console. Alternatively, open Terminal from Start menu, type bash, and then type cd /mnt/$YOURDRIVE$/$YOURFOLDER$/ – replace $YOURDRIVE$ with the drive letter and $YOURFOLDER$ with the folder name, eg. cd /mnt/d/tim011/
 Now you have to make timdisk.sh executable, type
 chmod +x timdisk.sh and after that you are ready to go. Type ./timdisk.sh to see the help file, and for example, extract a image by typing ./timdisk.sh -e tim011.img
Remember to always add ./ before timdisk.sh, this is necessary to execute the shell script.
Alternatively, you can copy timdisk.sh to /usr/bin, this way you can execute it from anywhere. You also have to edit the default diskdefs file, which is located in /etc/cpmtools/diskdefs and add the TIM011 definition in it.
If you want to make your disks bootable, grab the minimal boot disk image from the archive here and extract its contents, then copy the files in the root folder of the disk you create. This way, you will be able to boot the computer from your newly created disk.
Have fun!
Leave a Reply