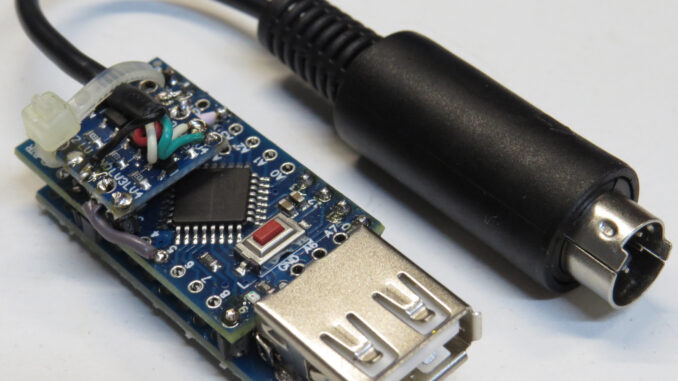
History
Original adapter was published in 2022. by Zuofu on NFG Forums: NFG Forums: Sharp X68000 USB Keyboard + Mouse adapter. The author adapted his FM Towns project for keyboard+mouse adapter to X68000 and published source code. At the end of 2024., Chain-Q made version just for mouse. The thread mentions that level shifter could be useful, but several people built the adapter without it and it worked for them. In 2026, another person published its build of the adapter, but had some changes: YouTube: Connect a modern USB Mouse to a Sharp X68000. Some of those changes were just briefly mentioned in the video and not fully visible. And another person made an adapter and put lever shifter on it: Exxos Forum: Sharp X68000 CZ-600CE – repair
Build
This build is 95% based on the NFG forum thread, but also uses changes mentioned in other places. Main differences from version on NFG forum:
- RST line on USB module is not connected to 3.3V, but to RST line on Arduino
- Added level shifter for Mouse Data and Mouse Ctrl lines
BOM
- Arduino Pro Mini, 3.3V 8MHz version
- Some way to program the Arduino (typically a USB->Serial adapter)
- You’ll need to add USB Host Shield 2.0 library to Arduino IDE
- Mini USB Host
- USB host board should have USB VBUS->3.3V connection removed
- Arduino Level Shifter
- Mini DIN-5 connector, or Mini DIN-6 with one pin removed
- Wires, 4-wire cable
Mini USB Host
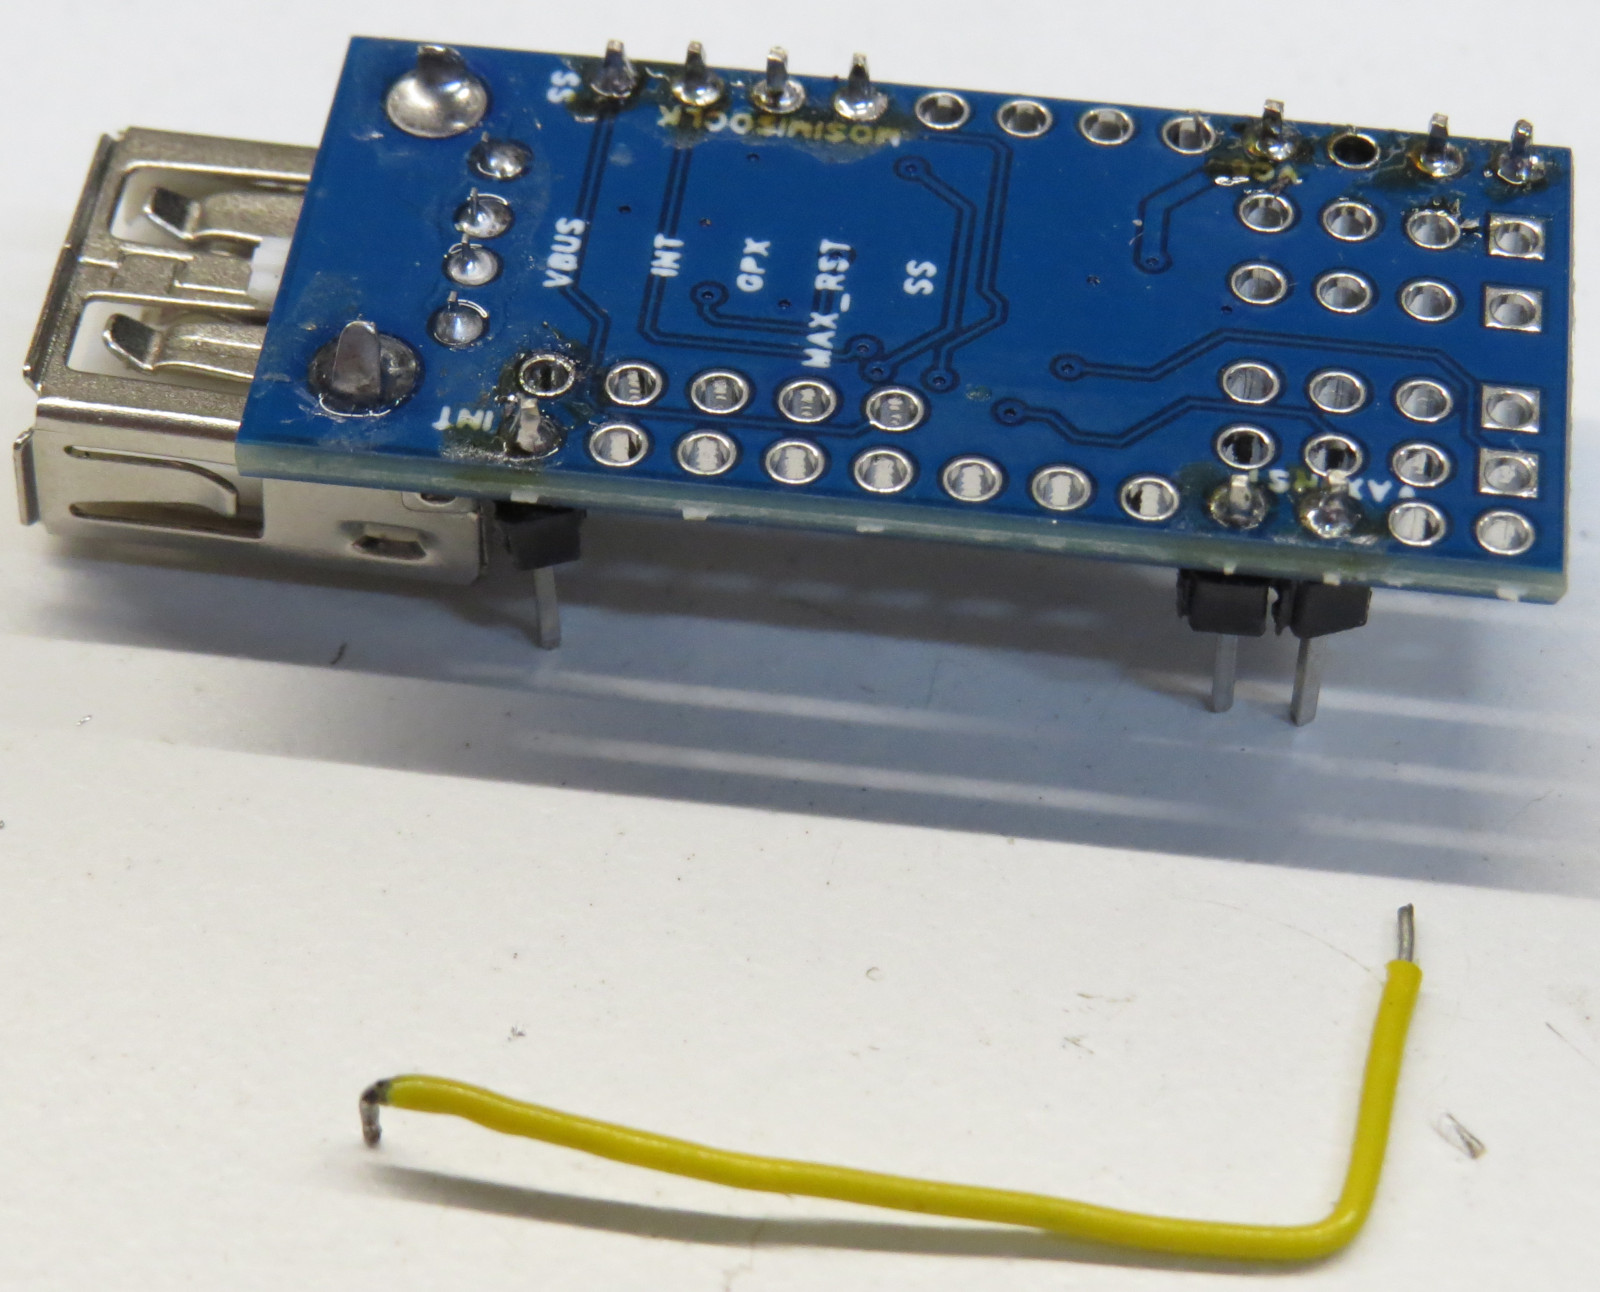
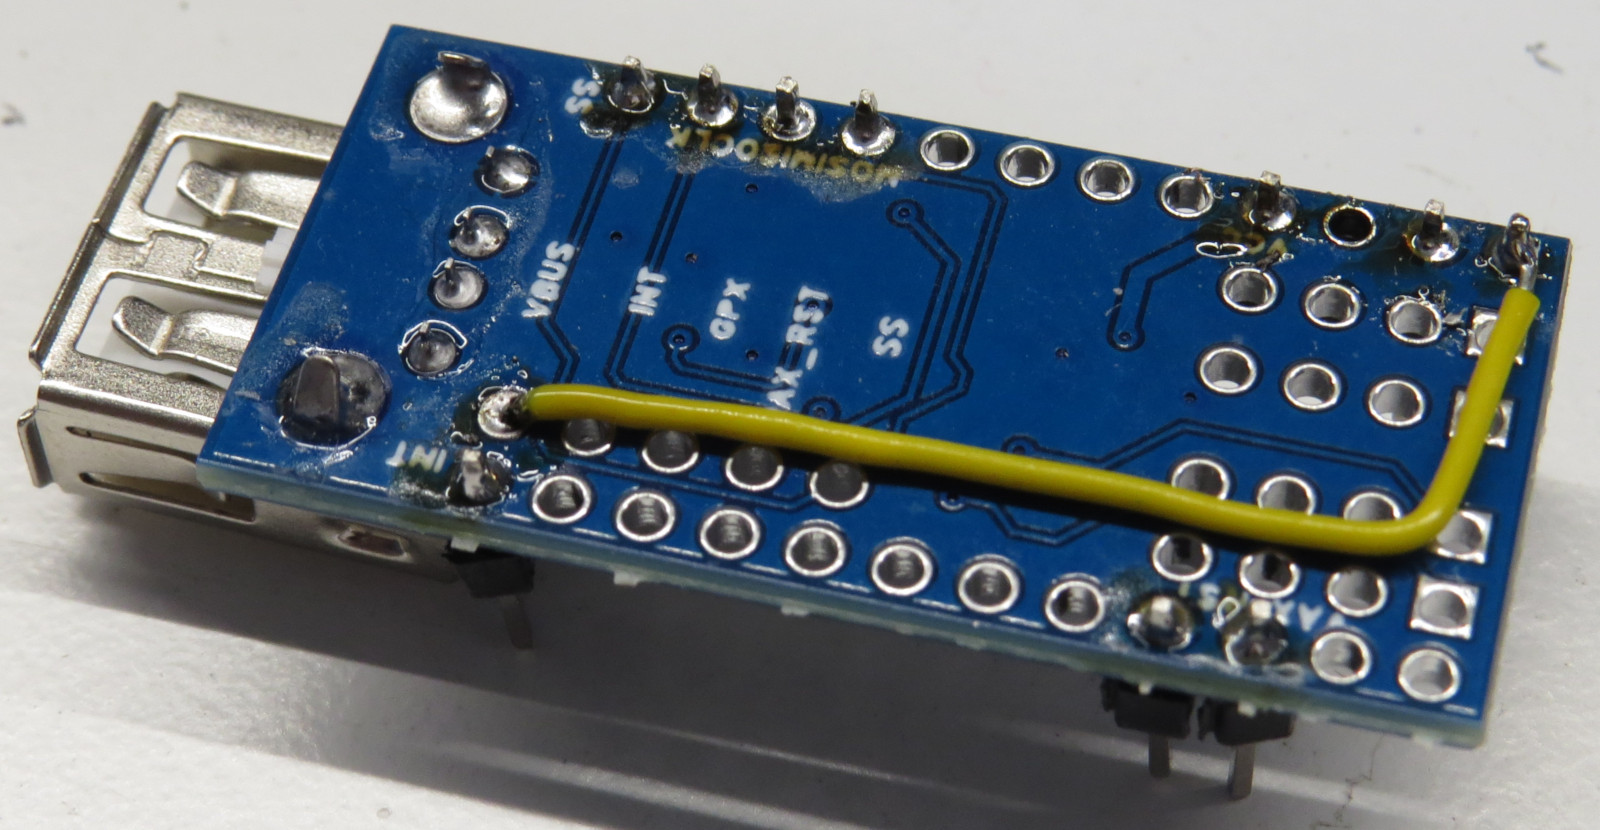
First, cut the trace near 2k2 resistor and add pins on these points:
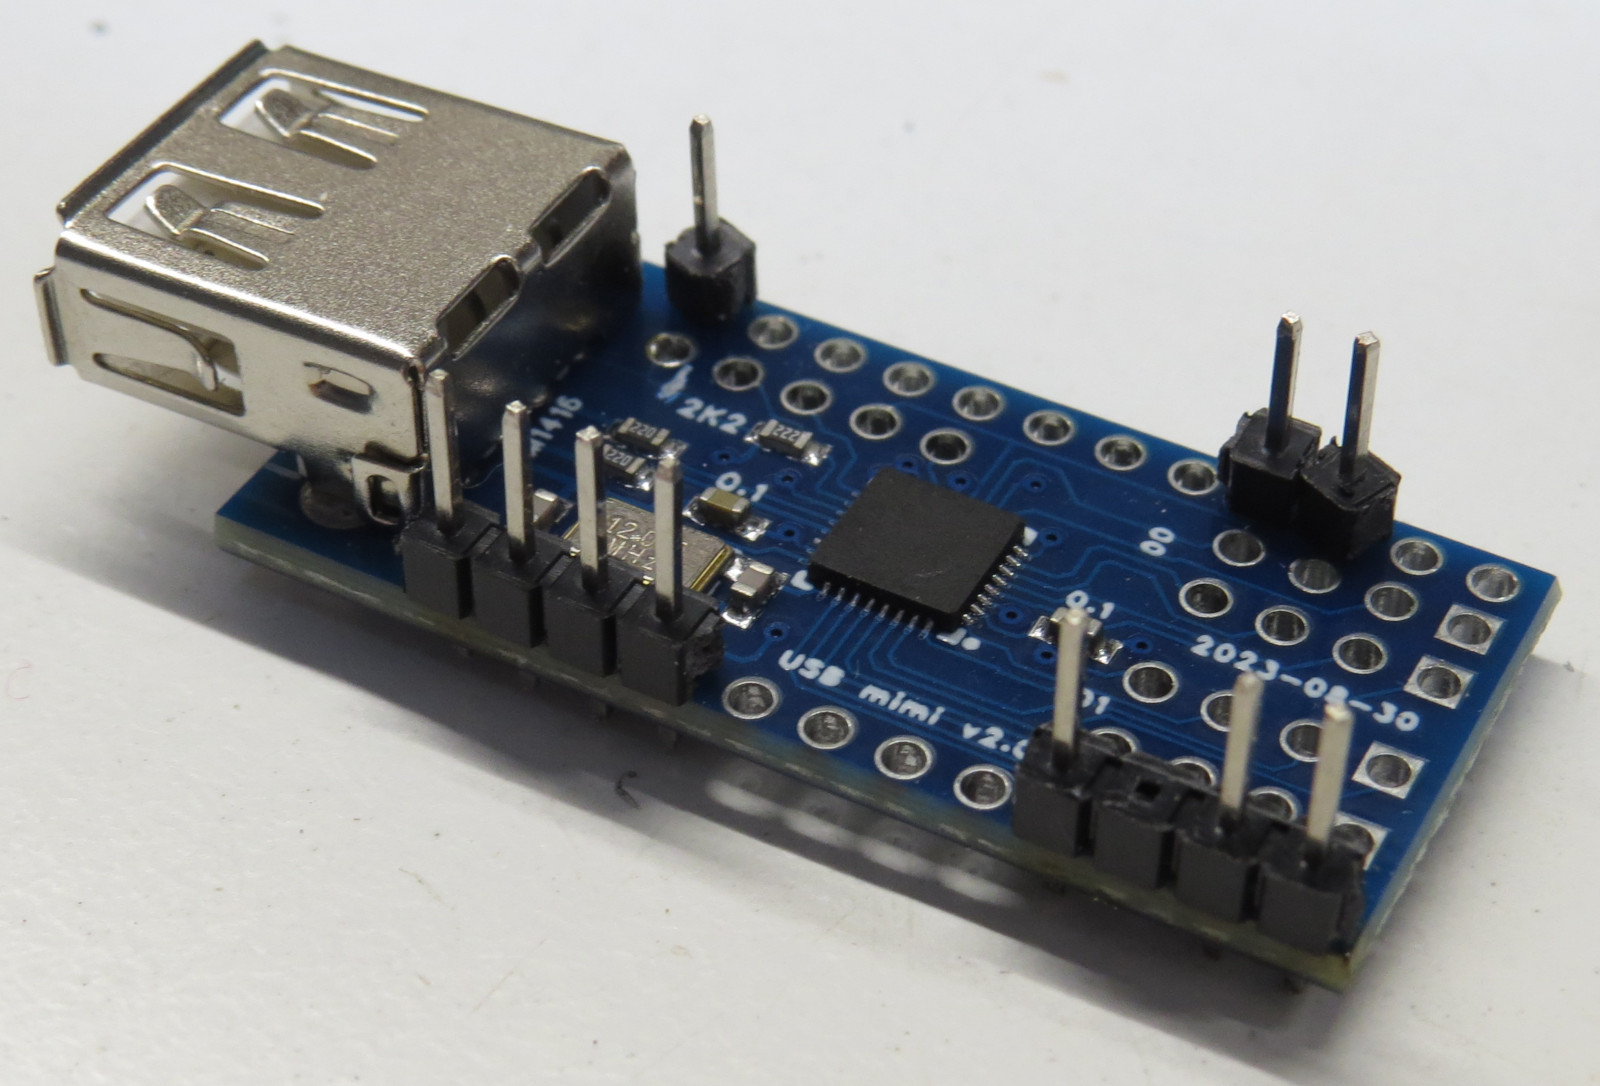
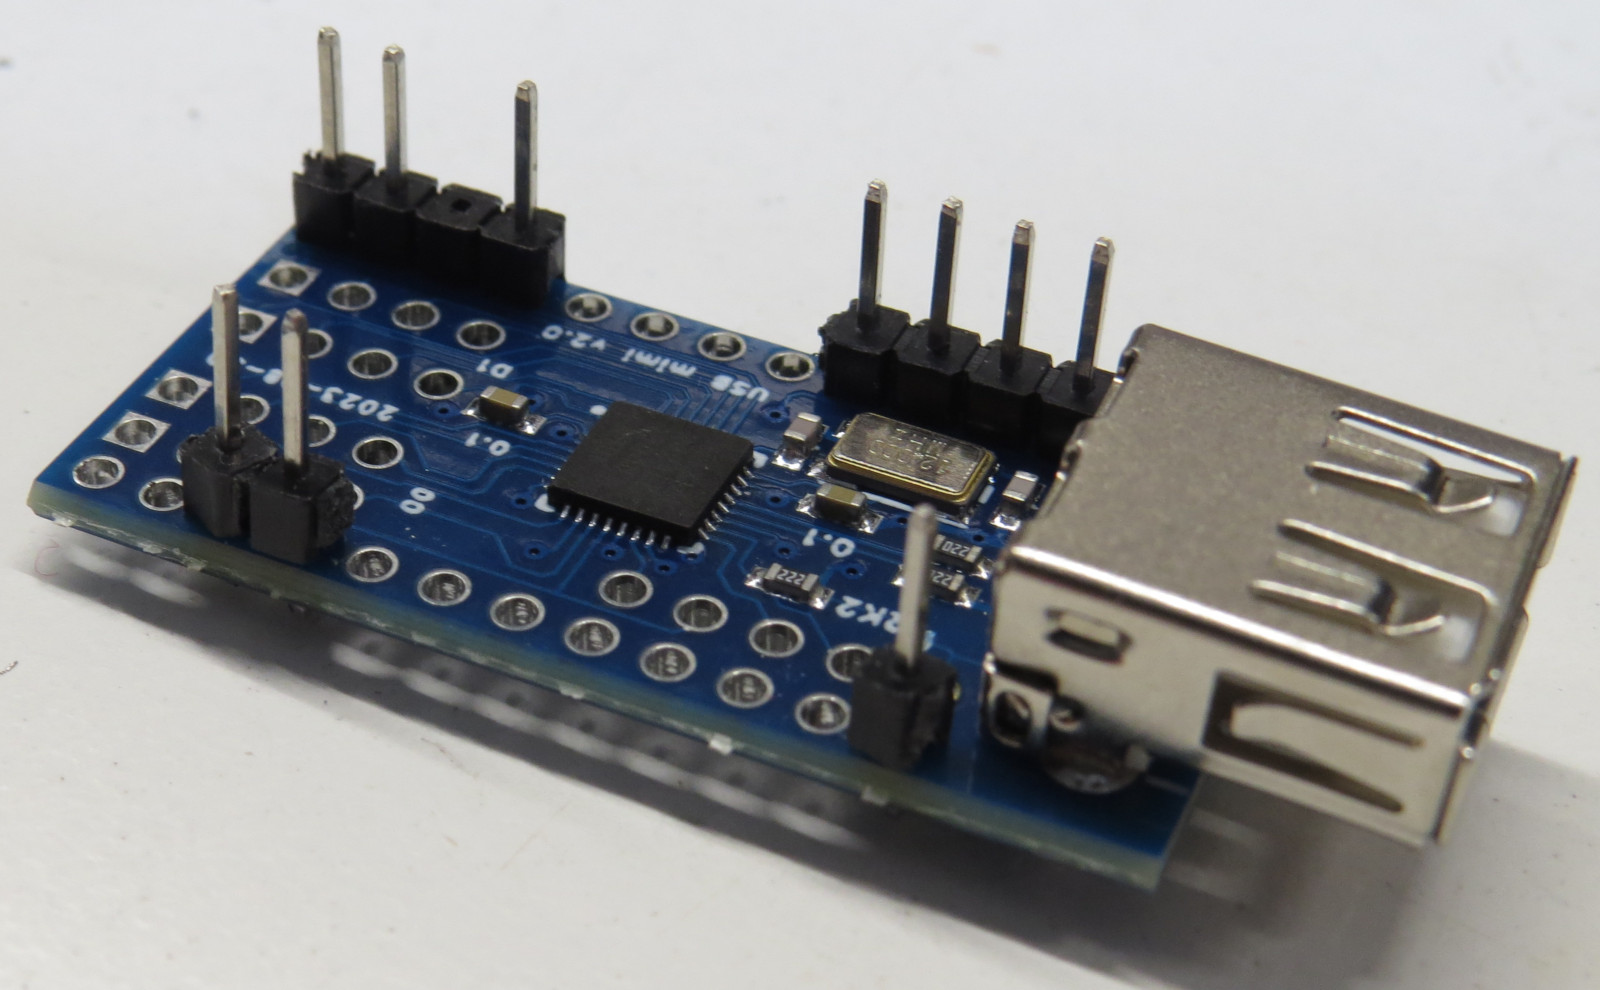
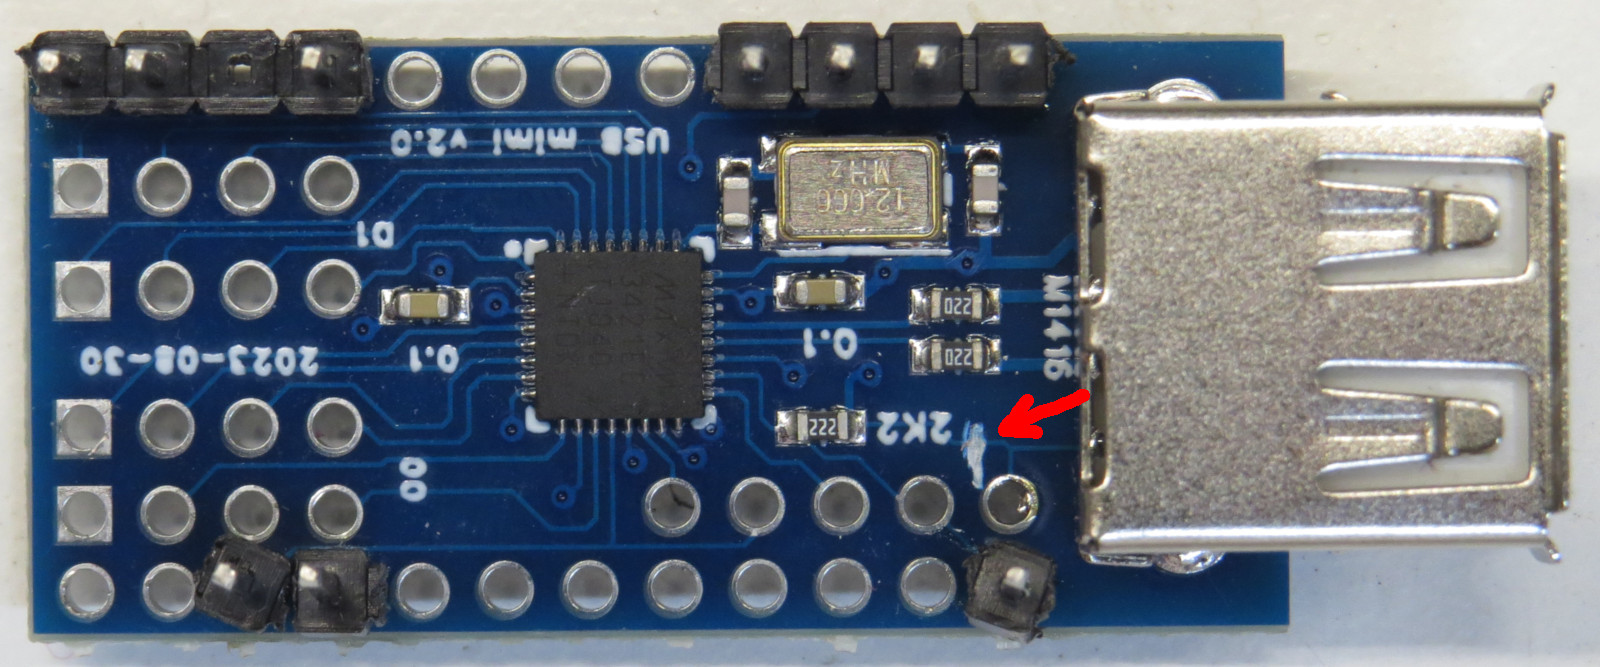
And then add a wire that will supply 5V to the USB connector:
Arduino Pro Mini
Download the code from Github: Arduino code
Open the code in Arduino IDE and go to line 139:
y_ovp = 1;
Change it to:
y_ovn = 1;
and then program Pro Mini using serial adapter of your choice. You can do it with or without soldering the programming header to Pro Mini, depending on what serial adapter you have. The one that I used has the same pinout as Pro Mini and I just inserted it into holes and pressed to make a contact while programming.
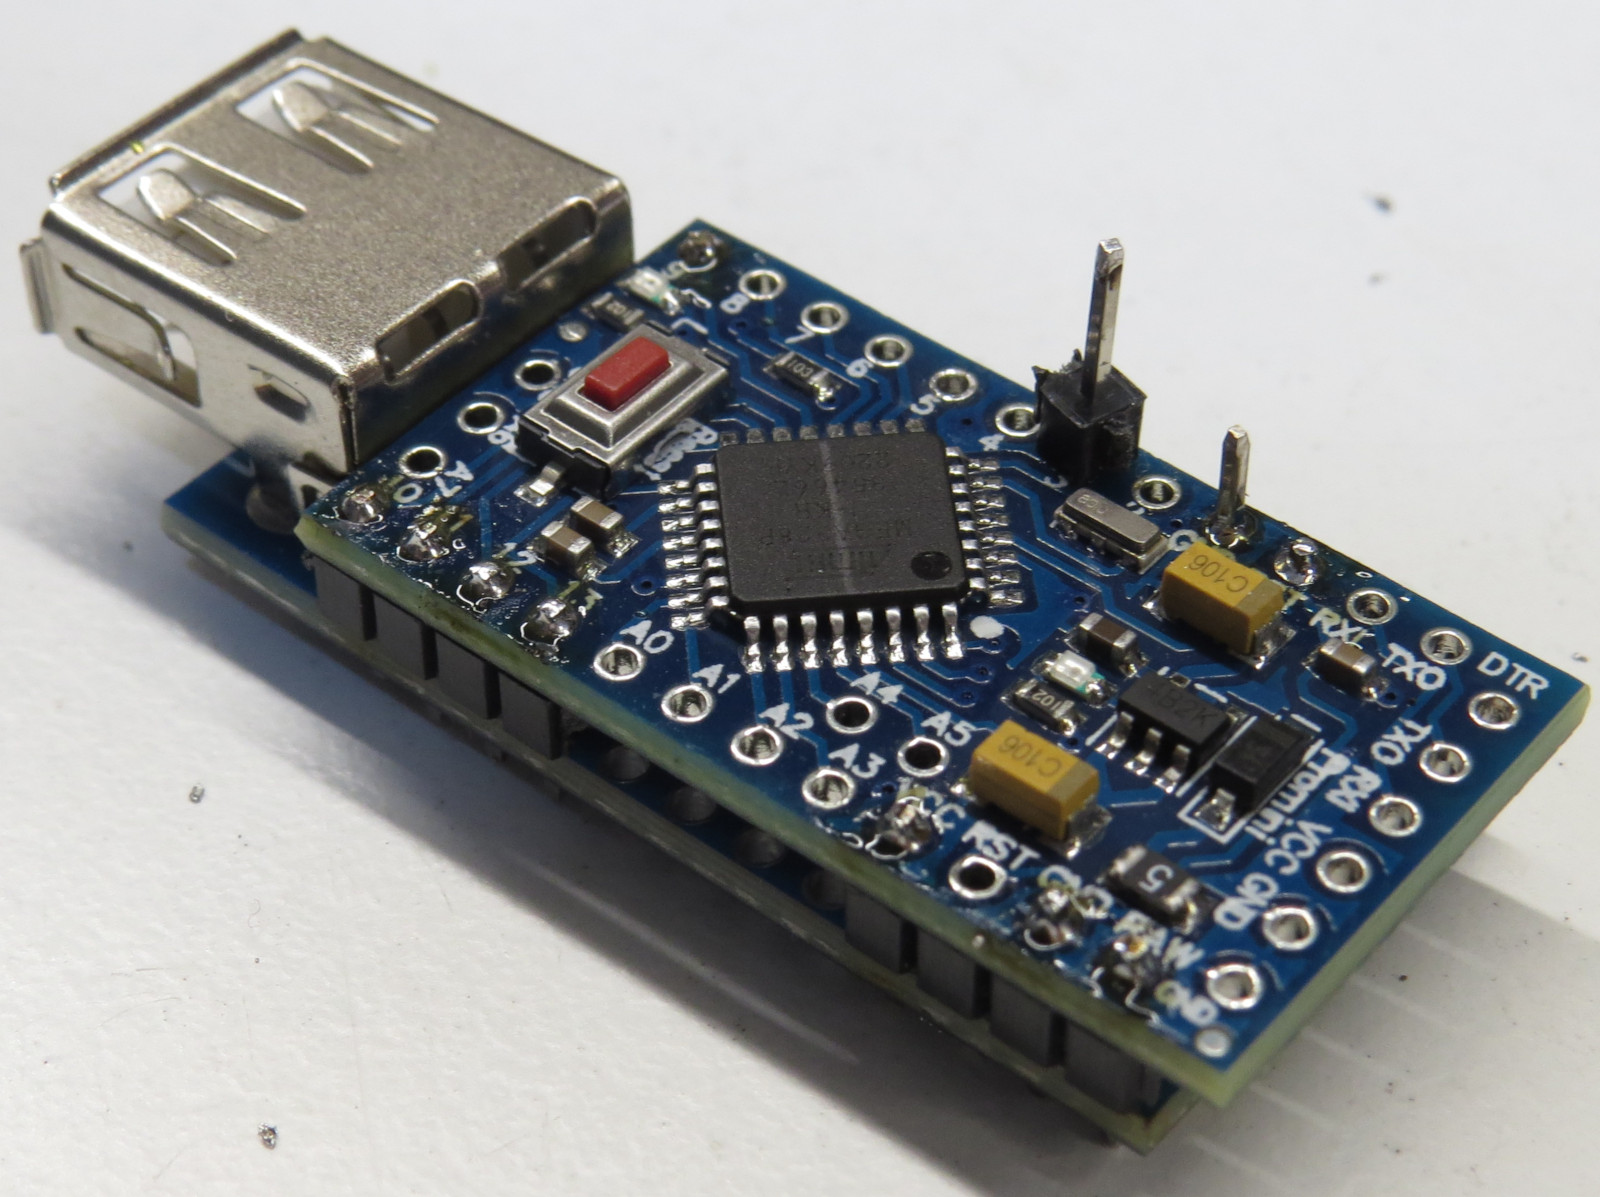
Solder one pin to contact “3”, place Pro Mini on top of USB host and cut all pins except the GND near the one you just soldered:
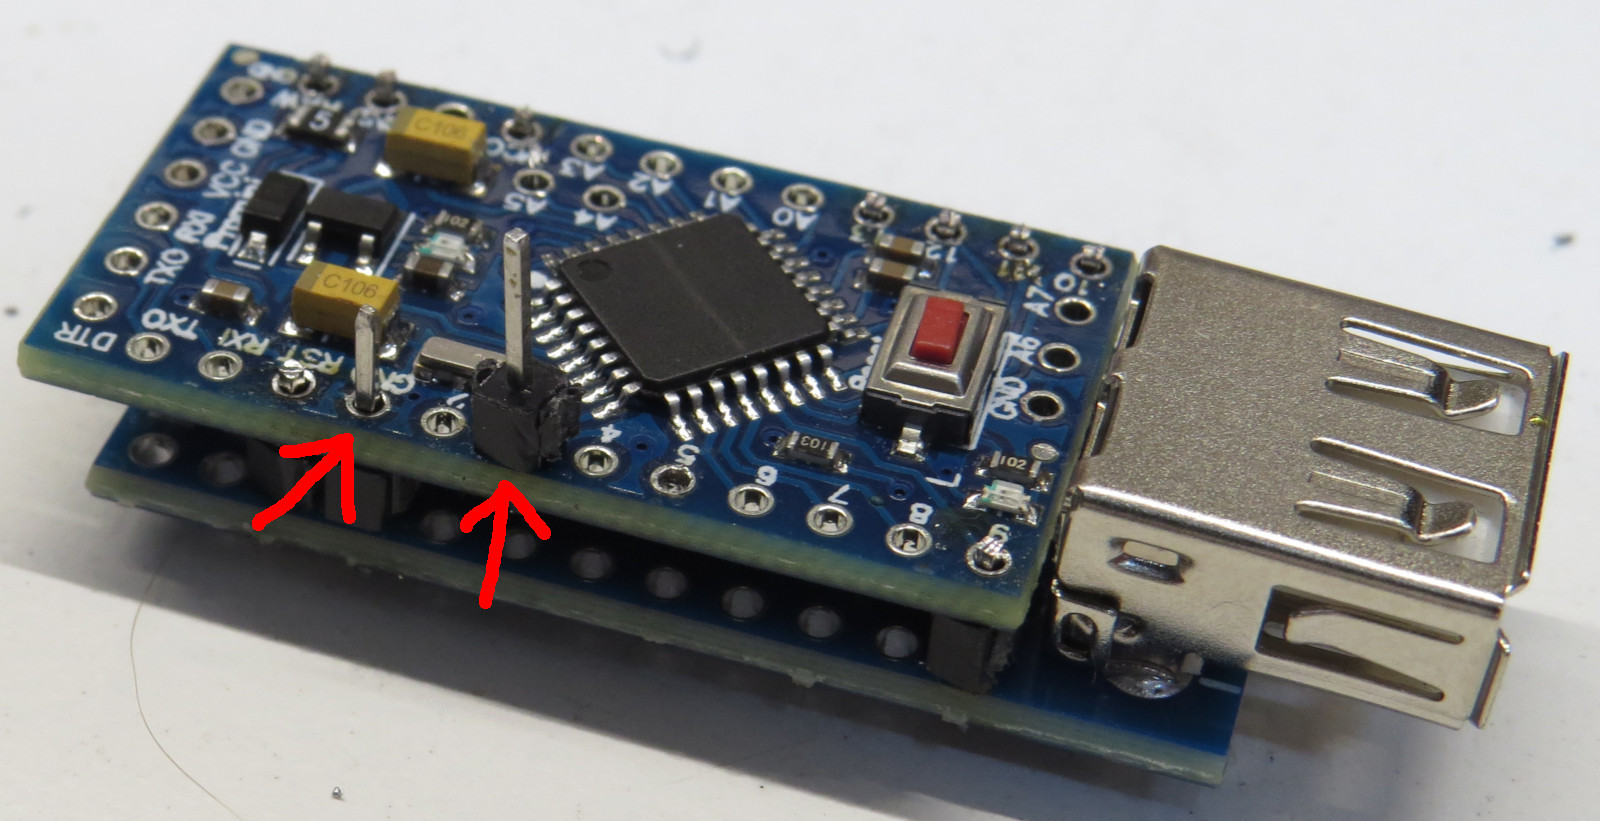
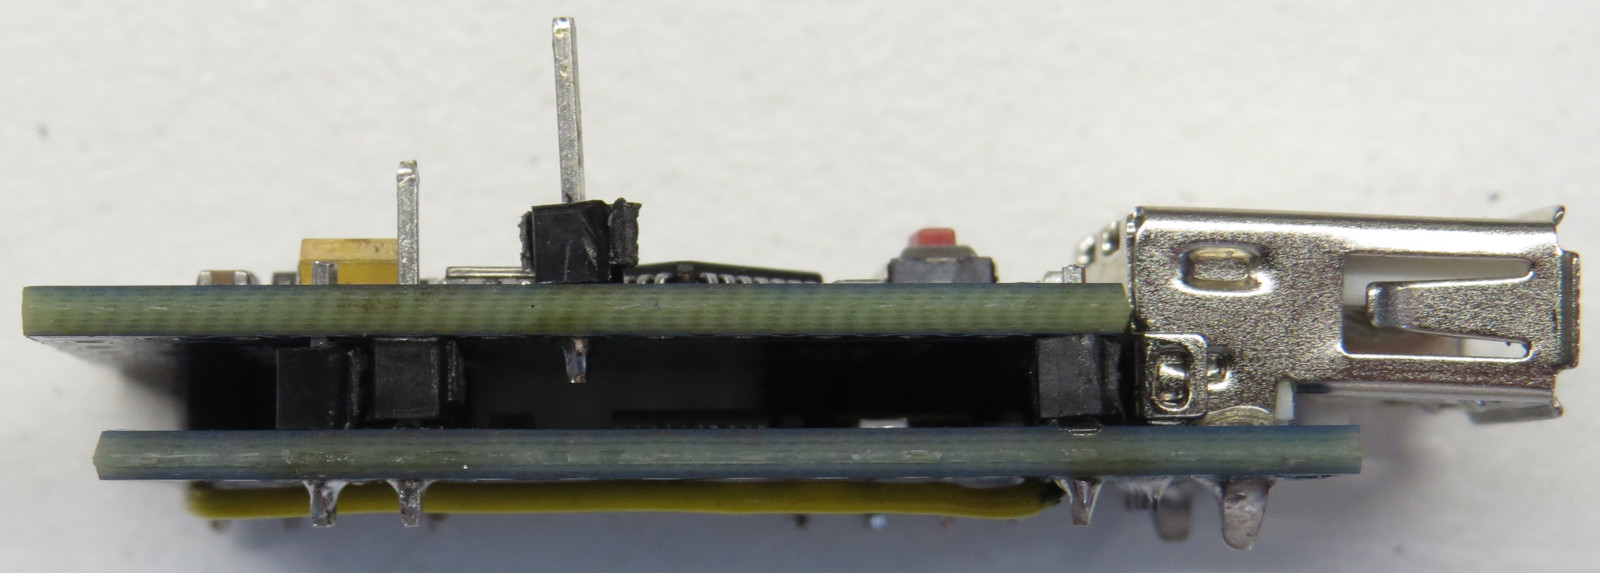
Now, solder Pro Mini to USB Host:
Arduino Level shifter
Use a small wire to connect both GNDs on the board:
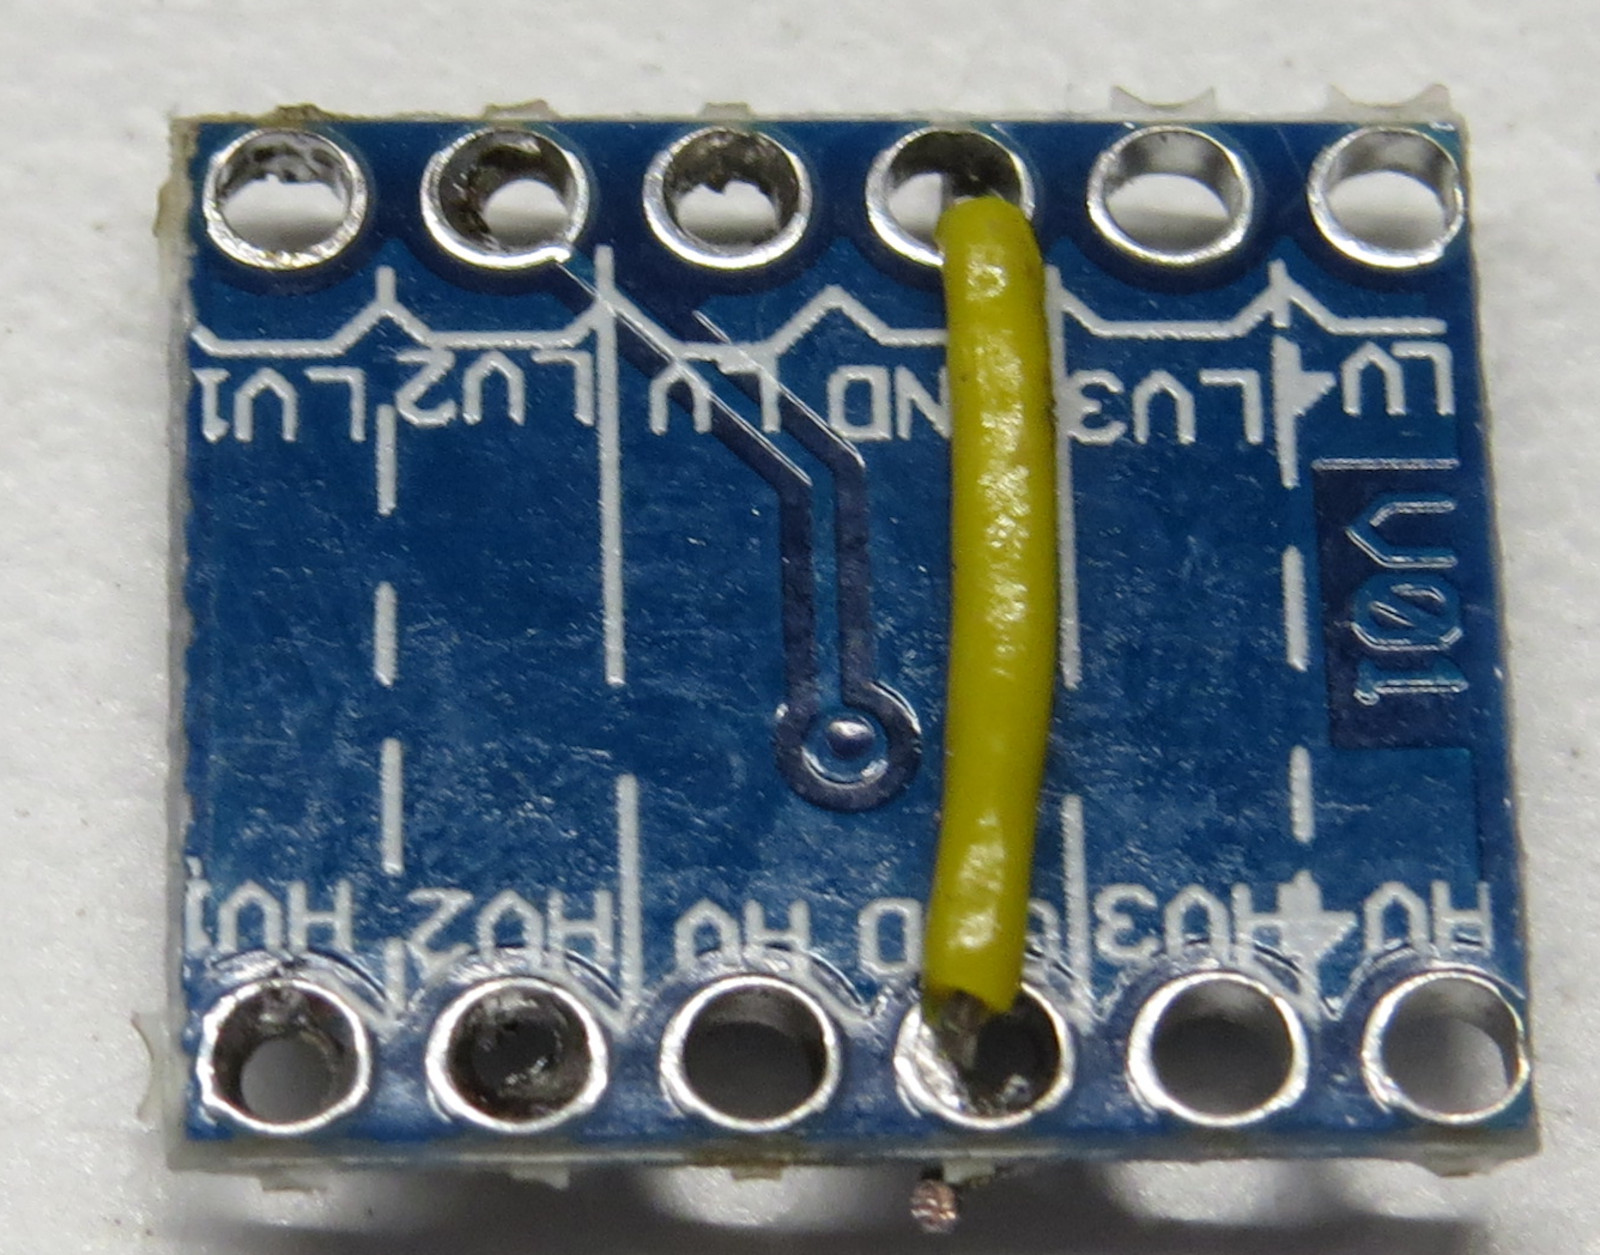
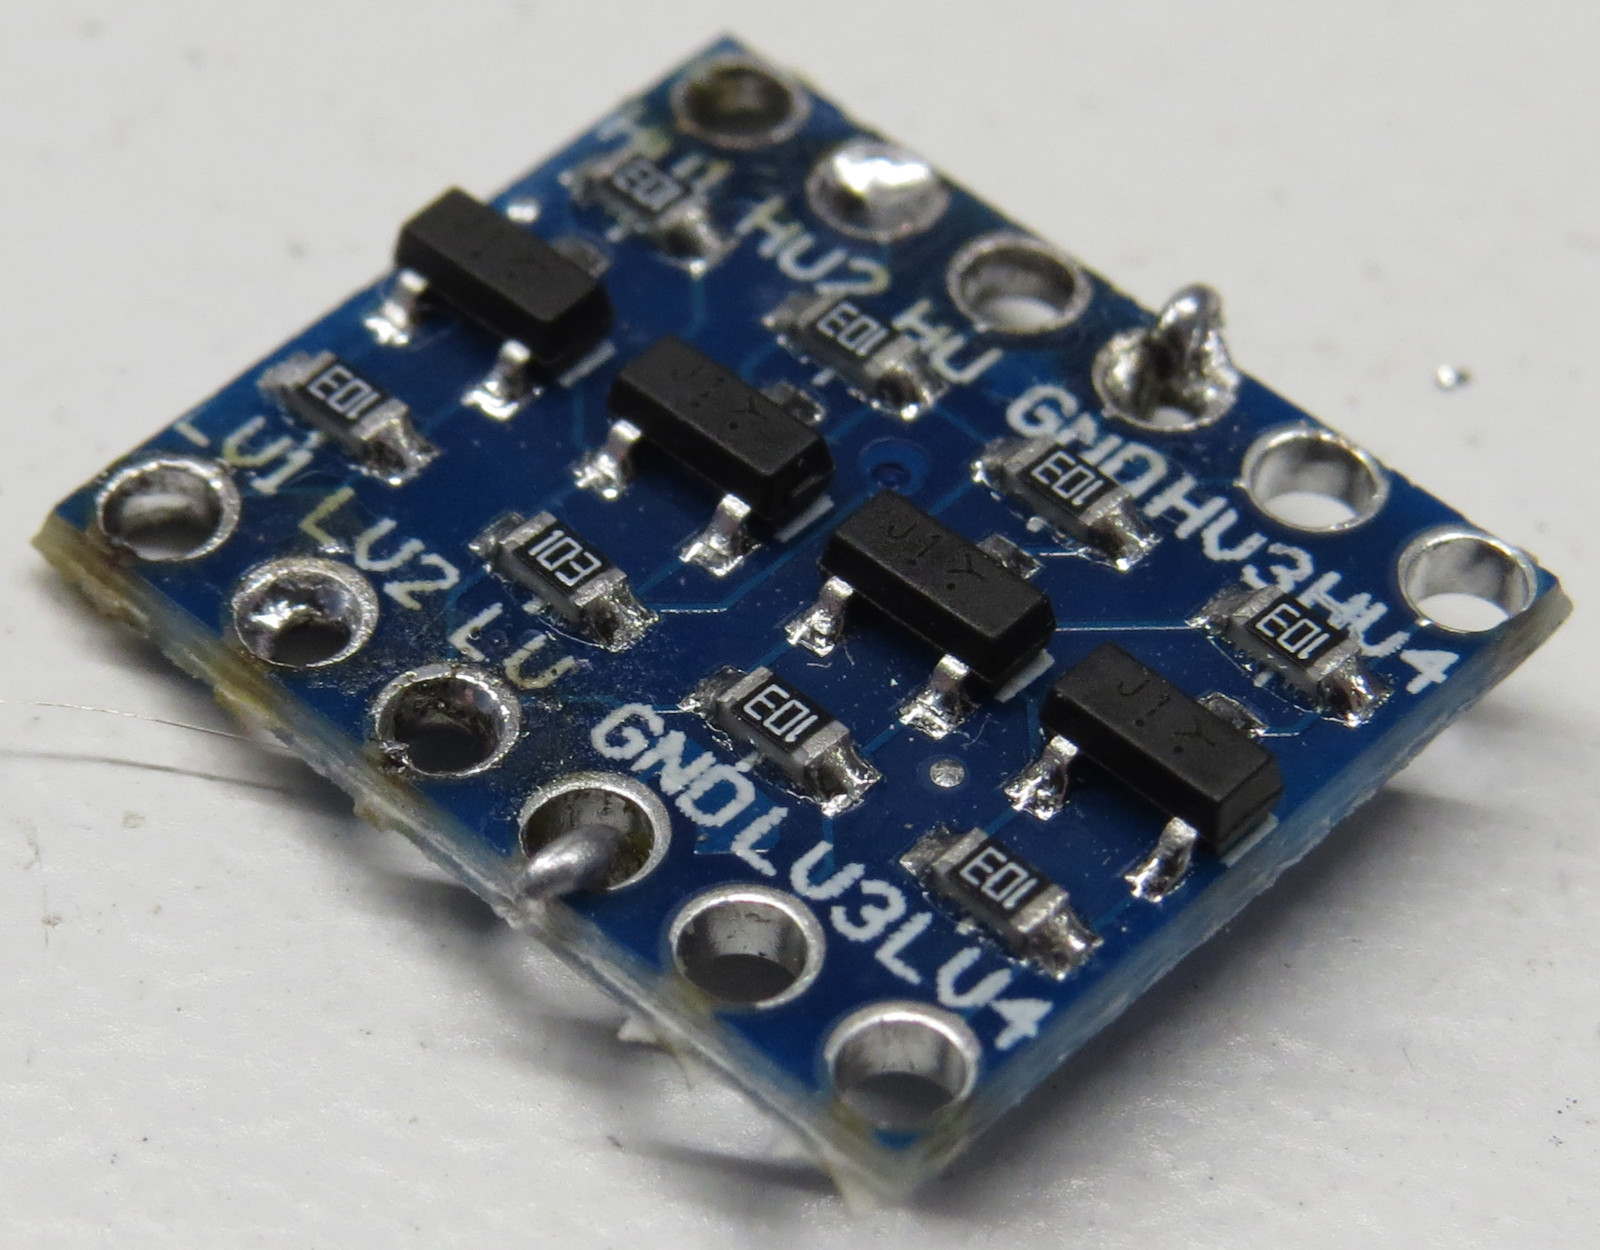
Place Level Shifter on top of Pro Mini, and solder GND to GND and LV4 to pin from contact “3”:
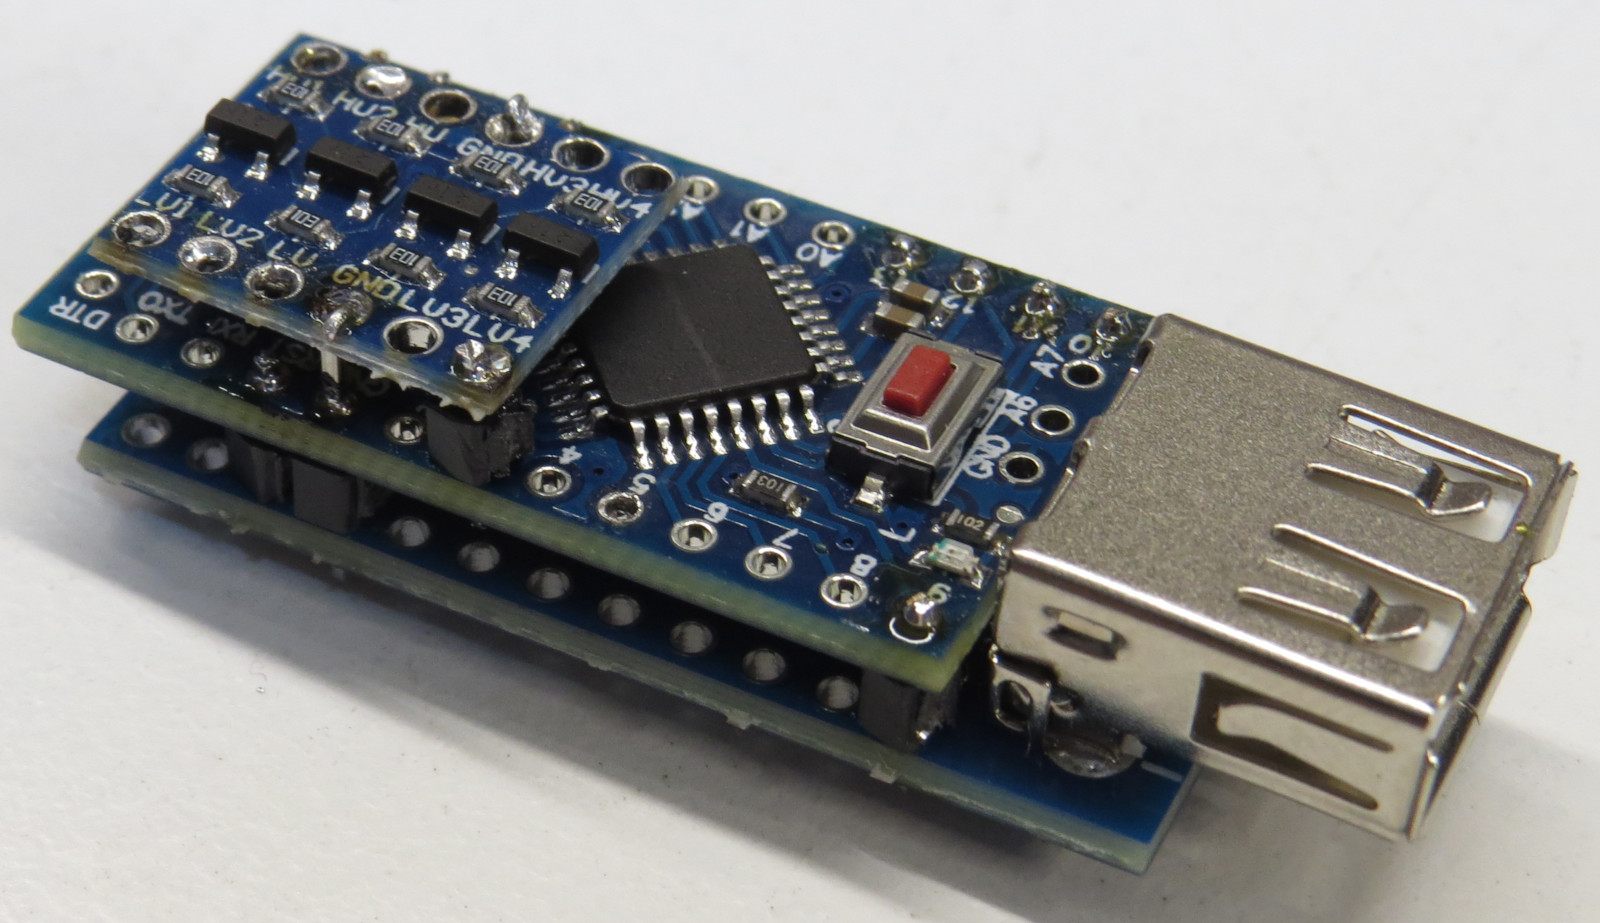
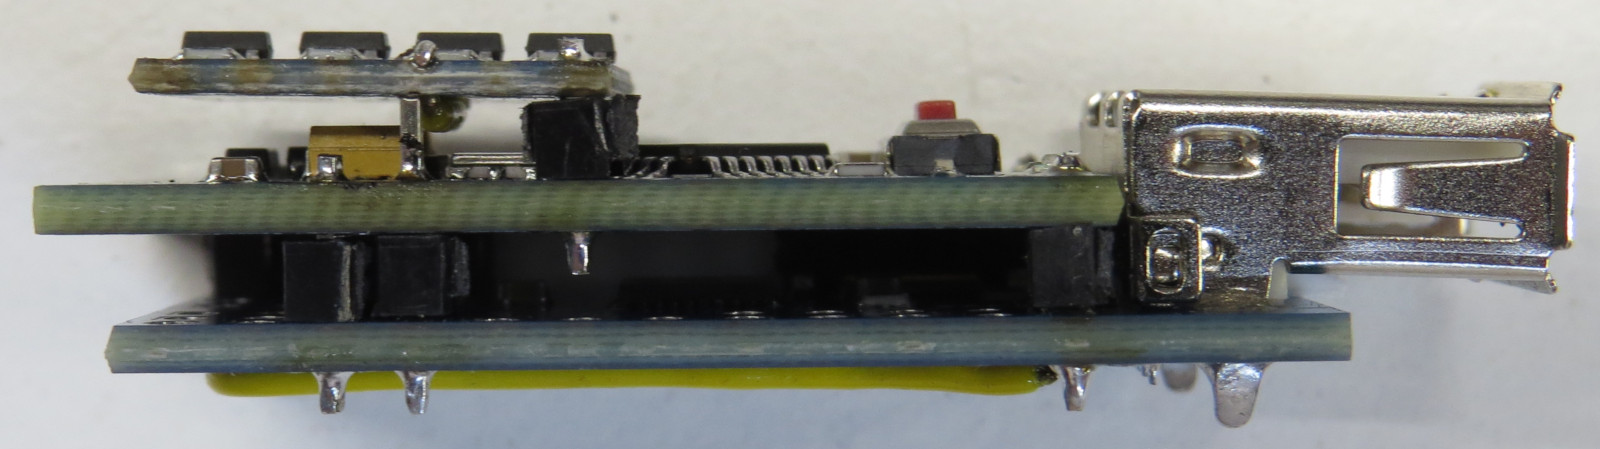
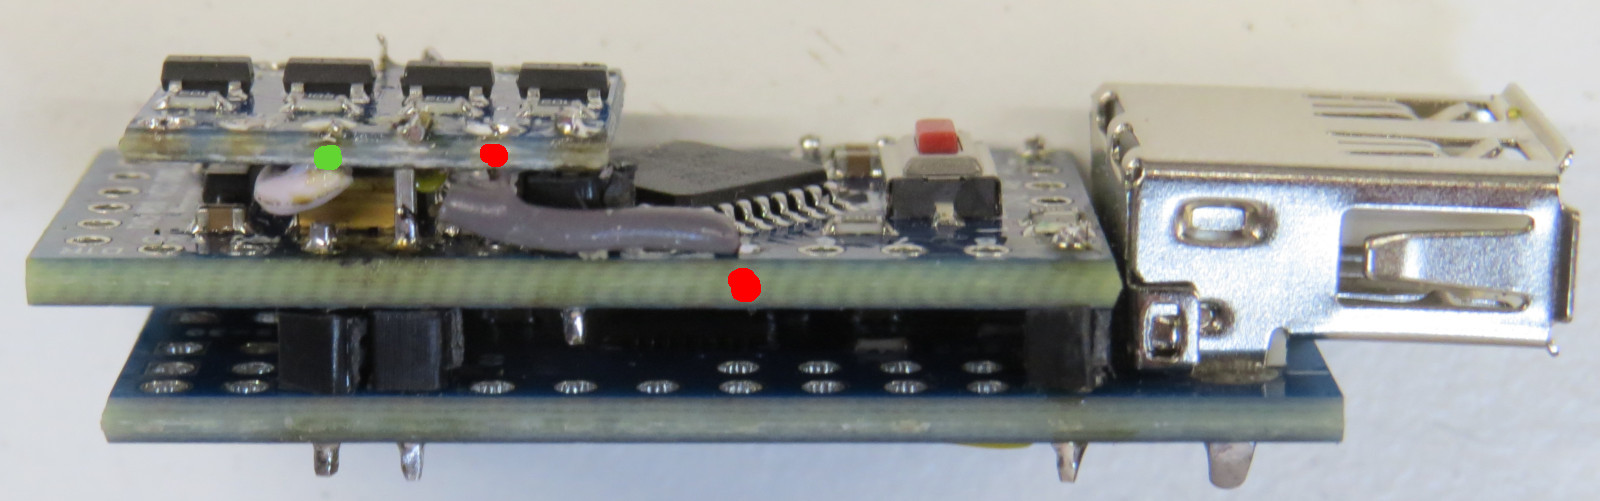
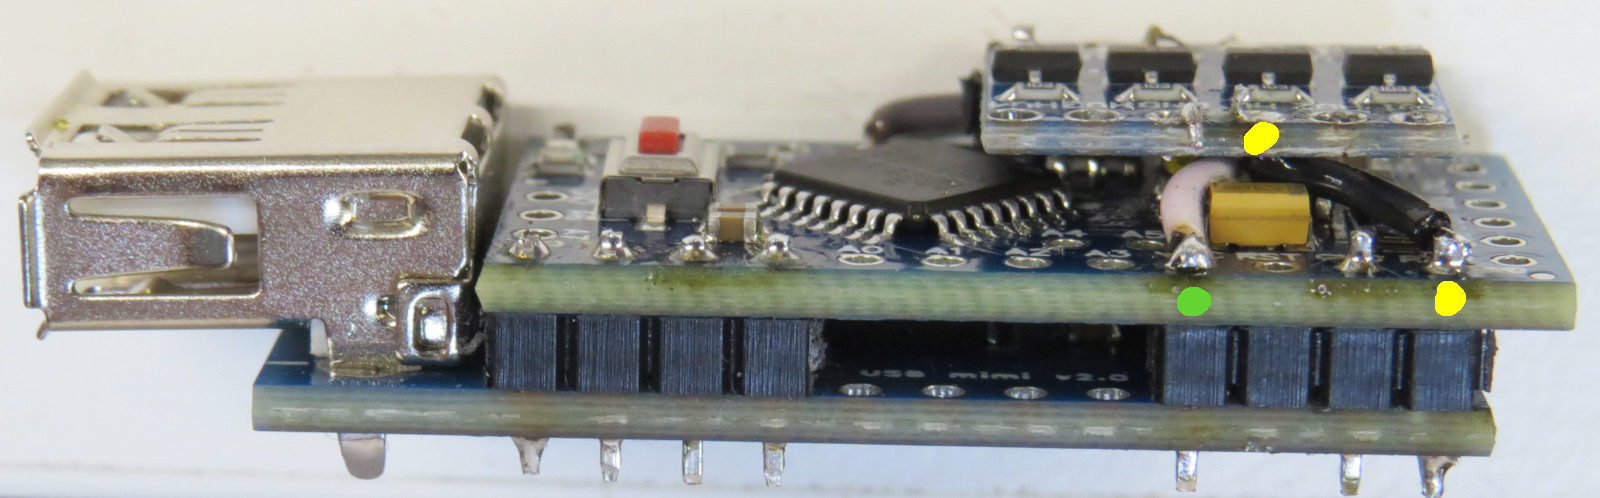
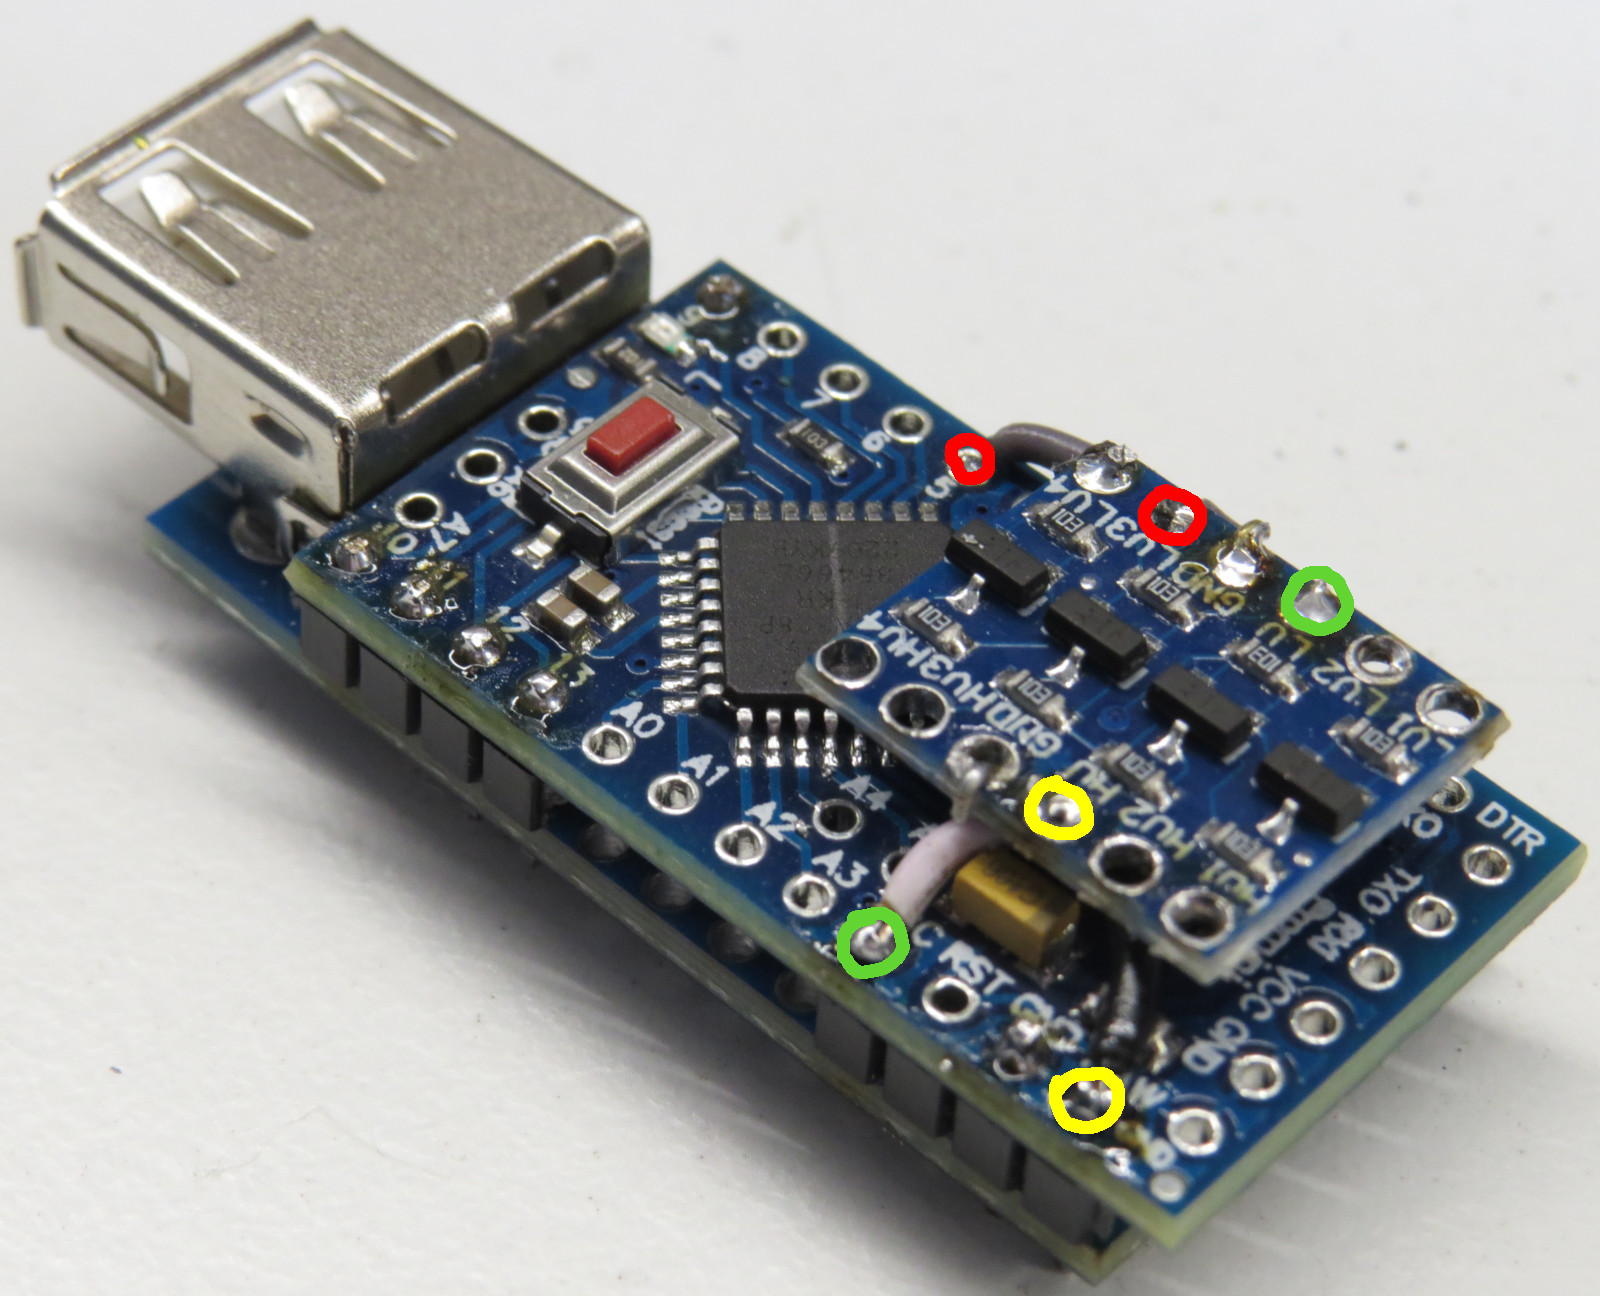
Next, you need to solder three small wires:
- RED from Level Shifter LV3 to contact “5” on Pro Mini
- GREEN from Level Shifter “LV” to “VCC” on Pro Mini
- BLUE from Level Shifter “HV” to “RAW” on Pro Mini
They are easy to insert after the Level Shifter is placed on Pro Mini, but can also be soldered before that.
Cable
Cable pinout can be found on: X68000 Keyboard protocol and pinout
Here is how it looks looking at the connector:
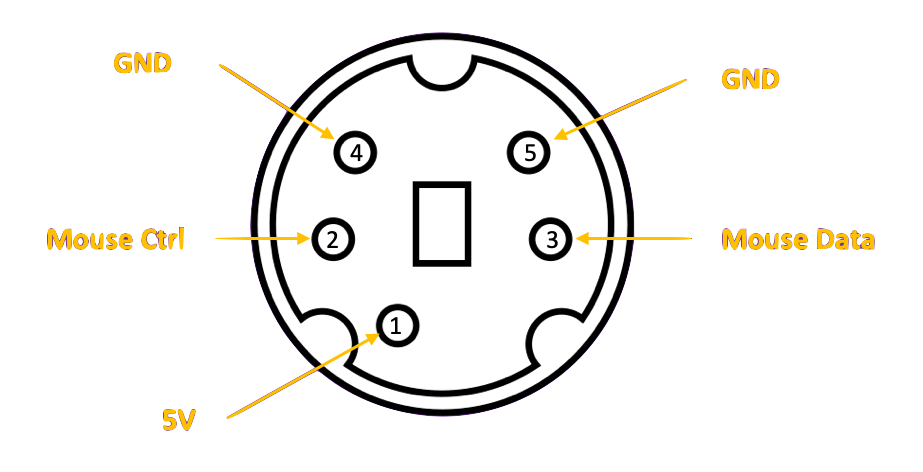
Depending on the connector you find, you might have to thin-out the plastic pin if it cannot be inserted into X68000 mouse port.
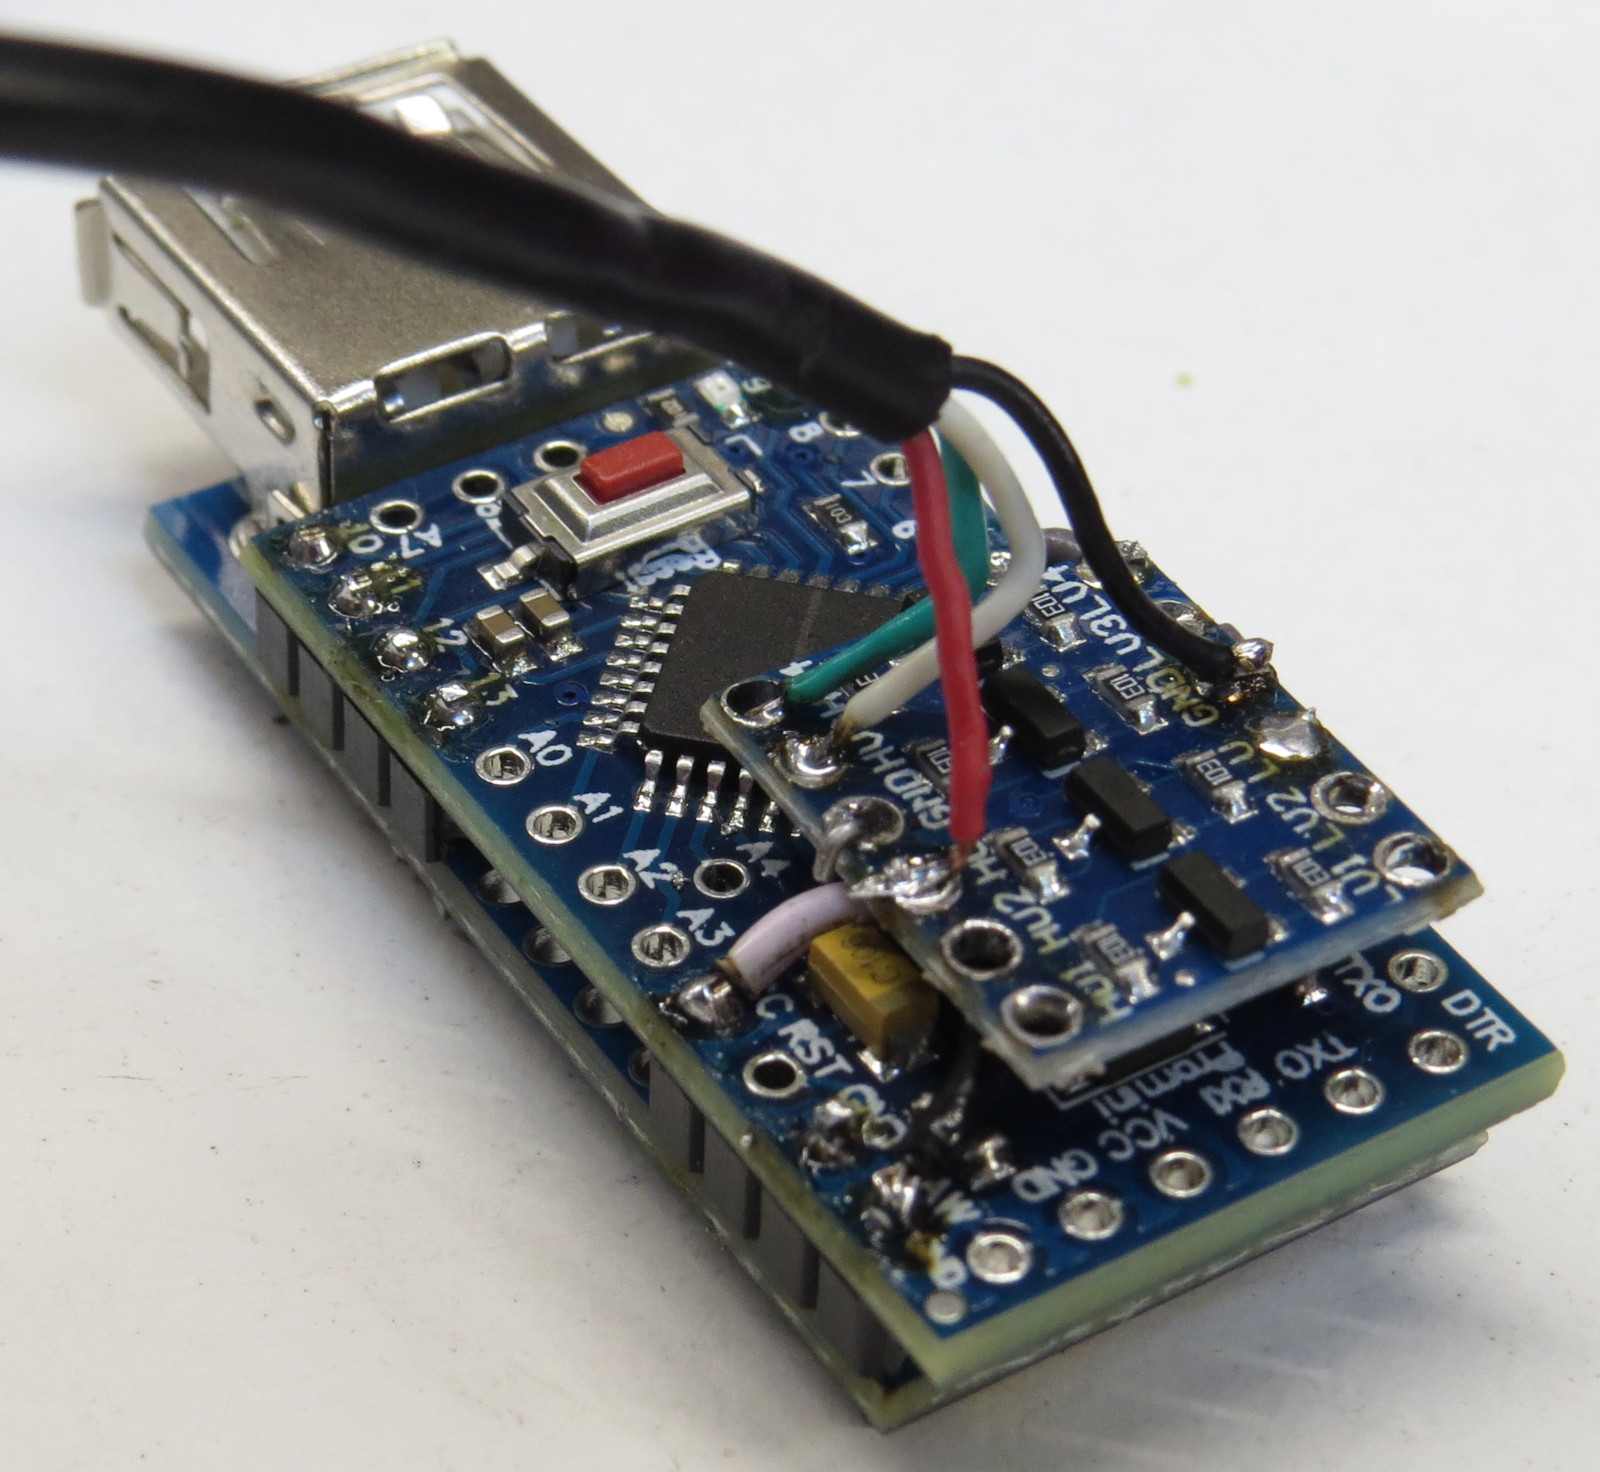
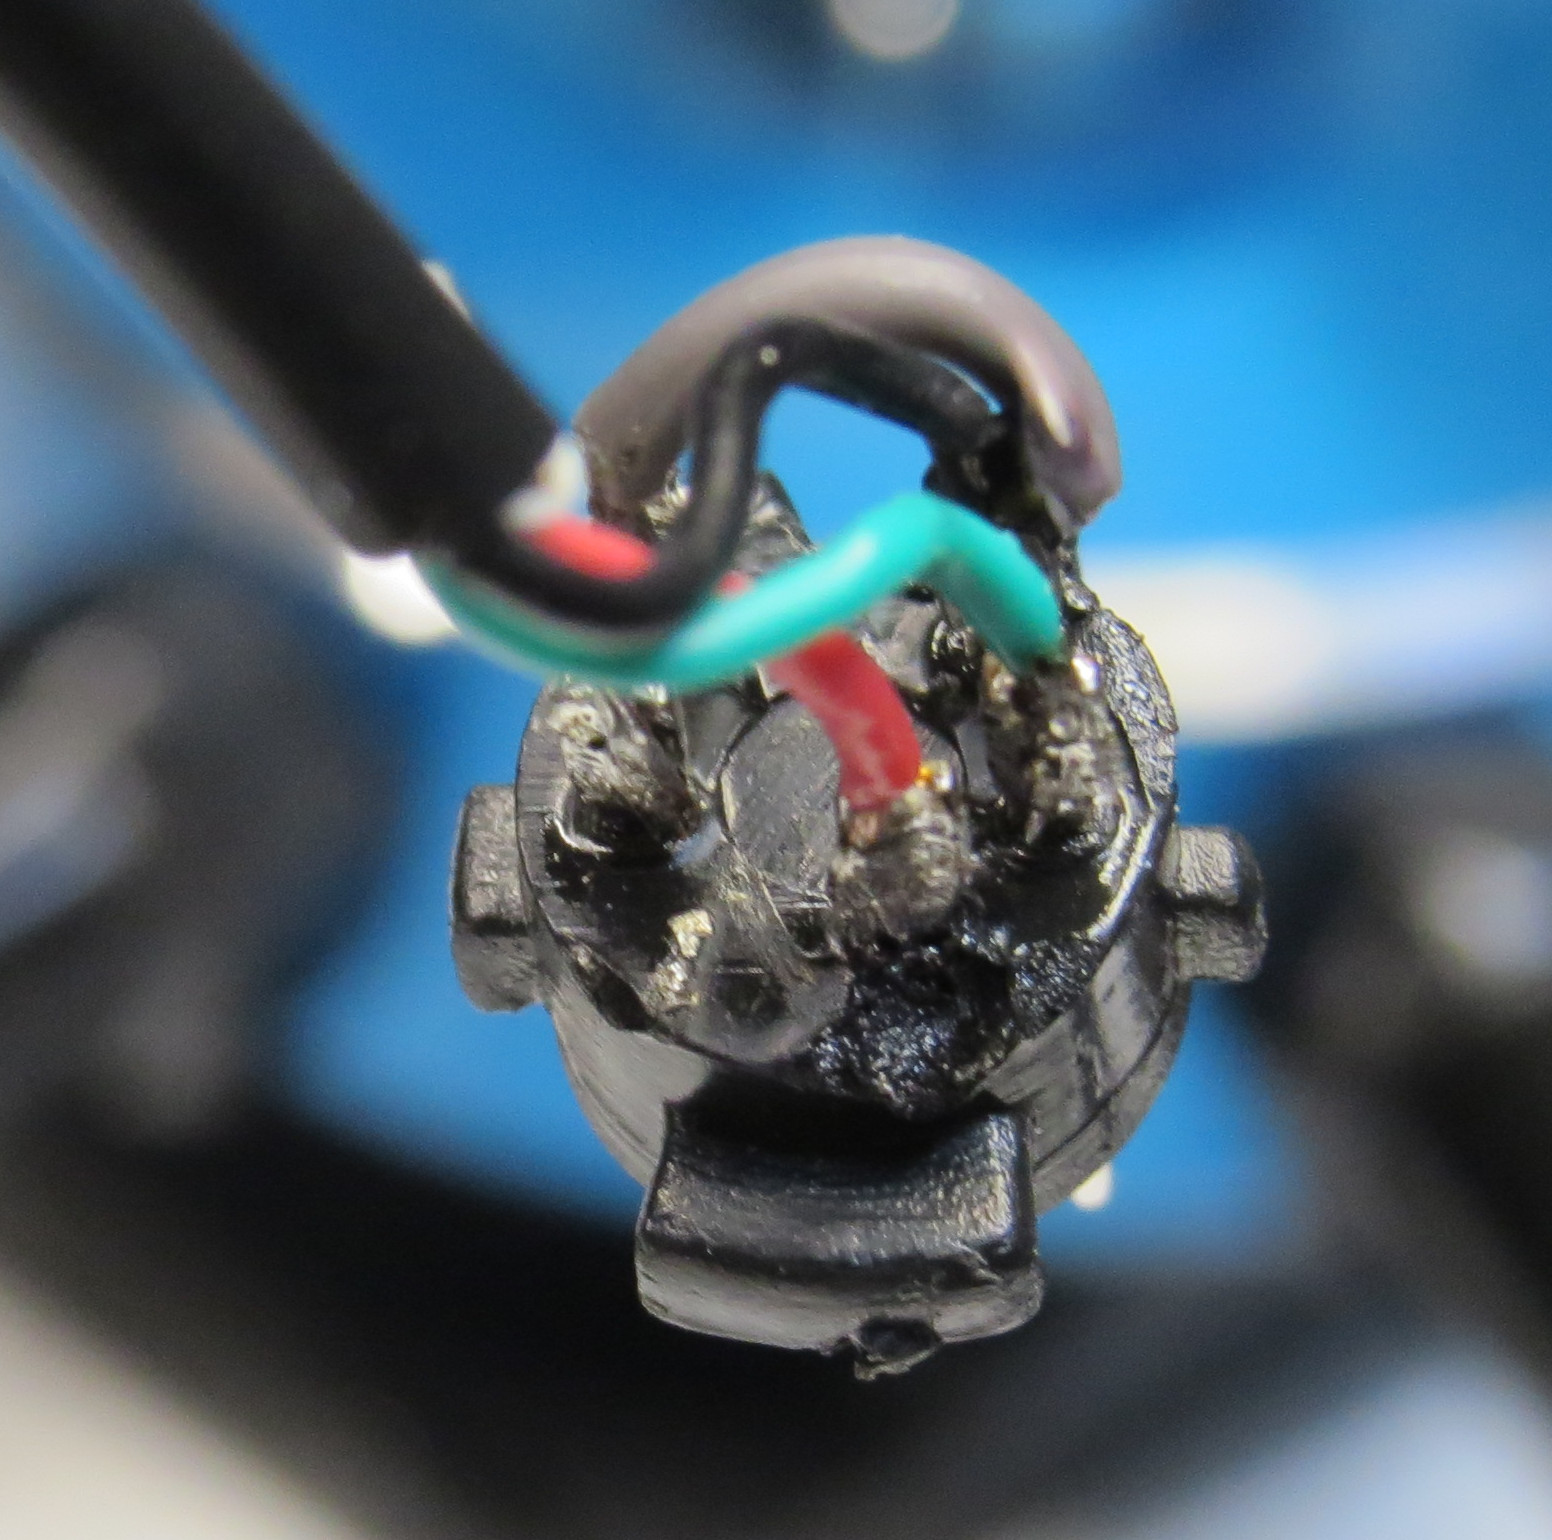
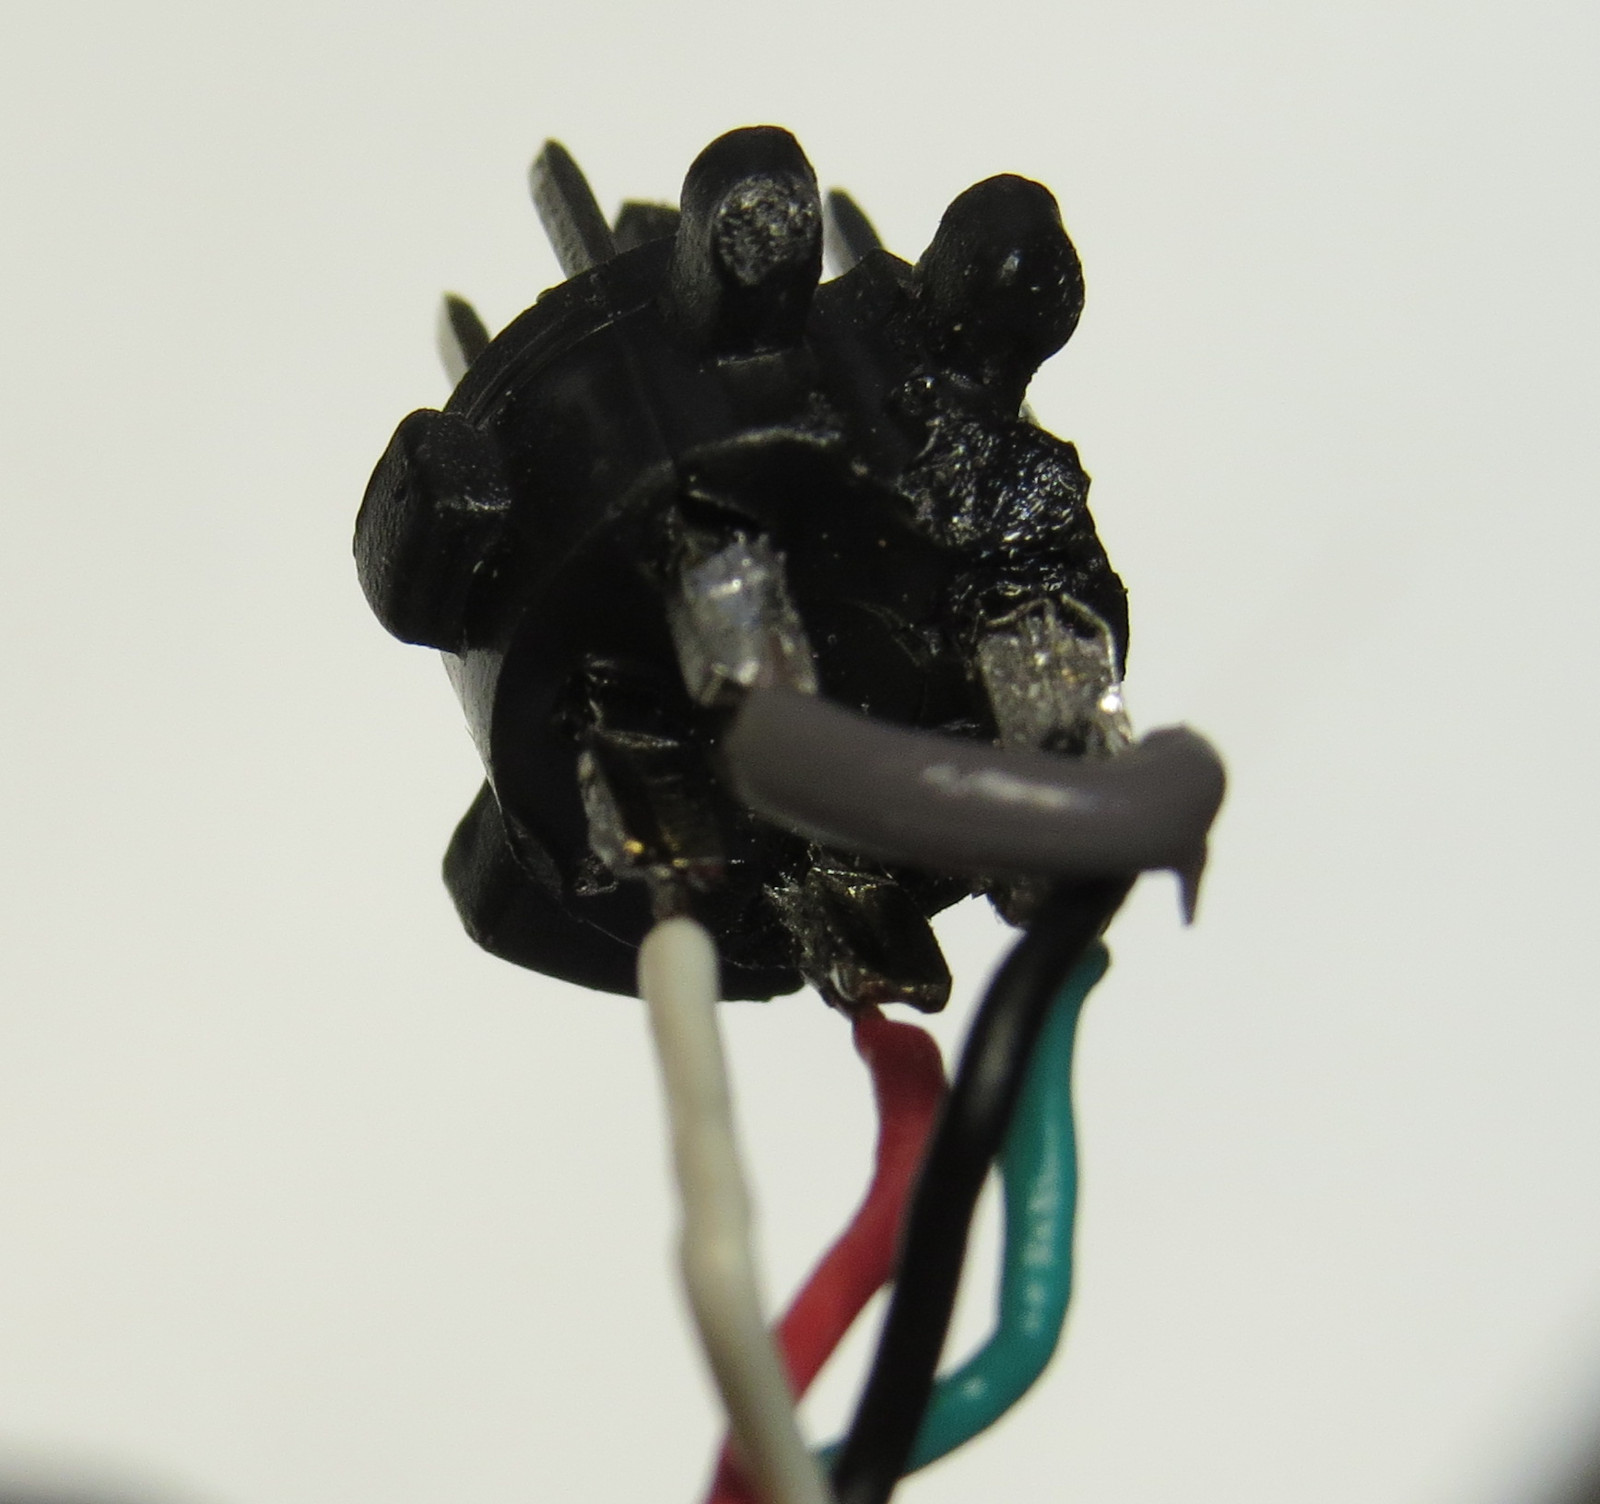
Solder cable like this:
| X68000 | Level Shifter |
|---|---|
| 5V | HV |
| GND (2x) | GND |
| Mouse Data | HV3 |
| Mouse Ctrl | HV4 |
Finished
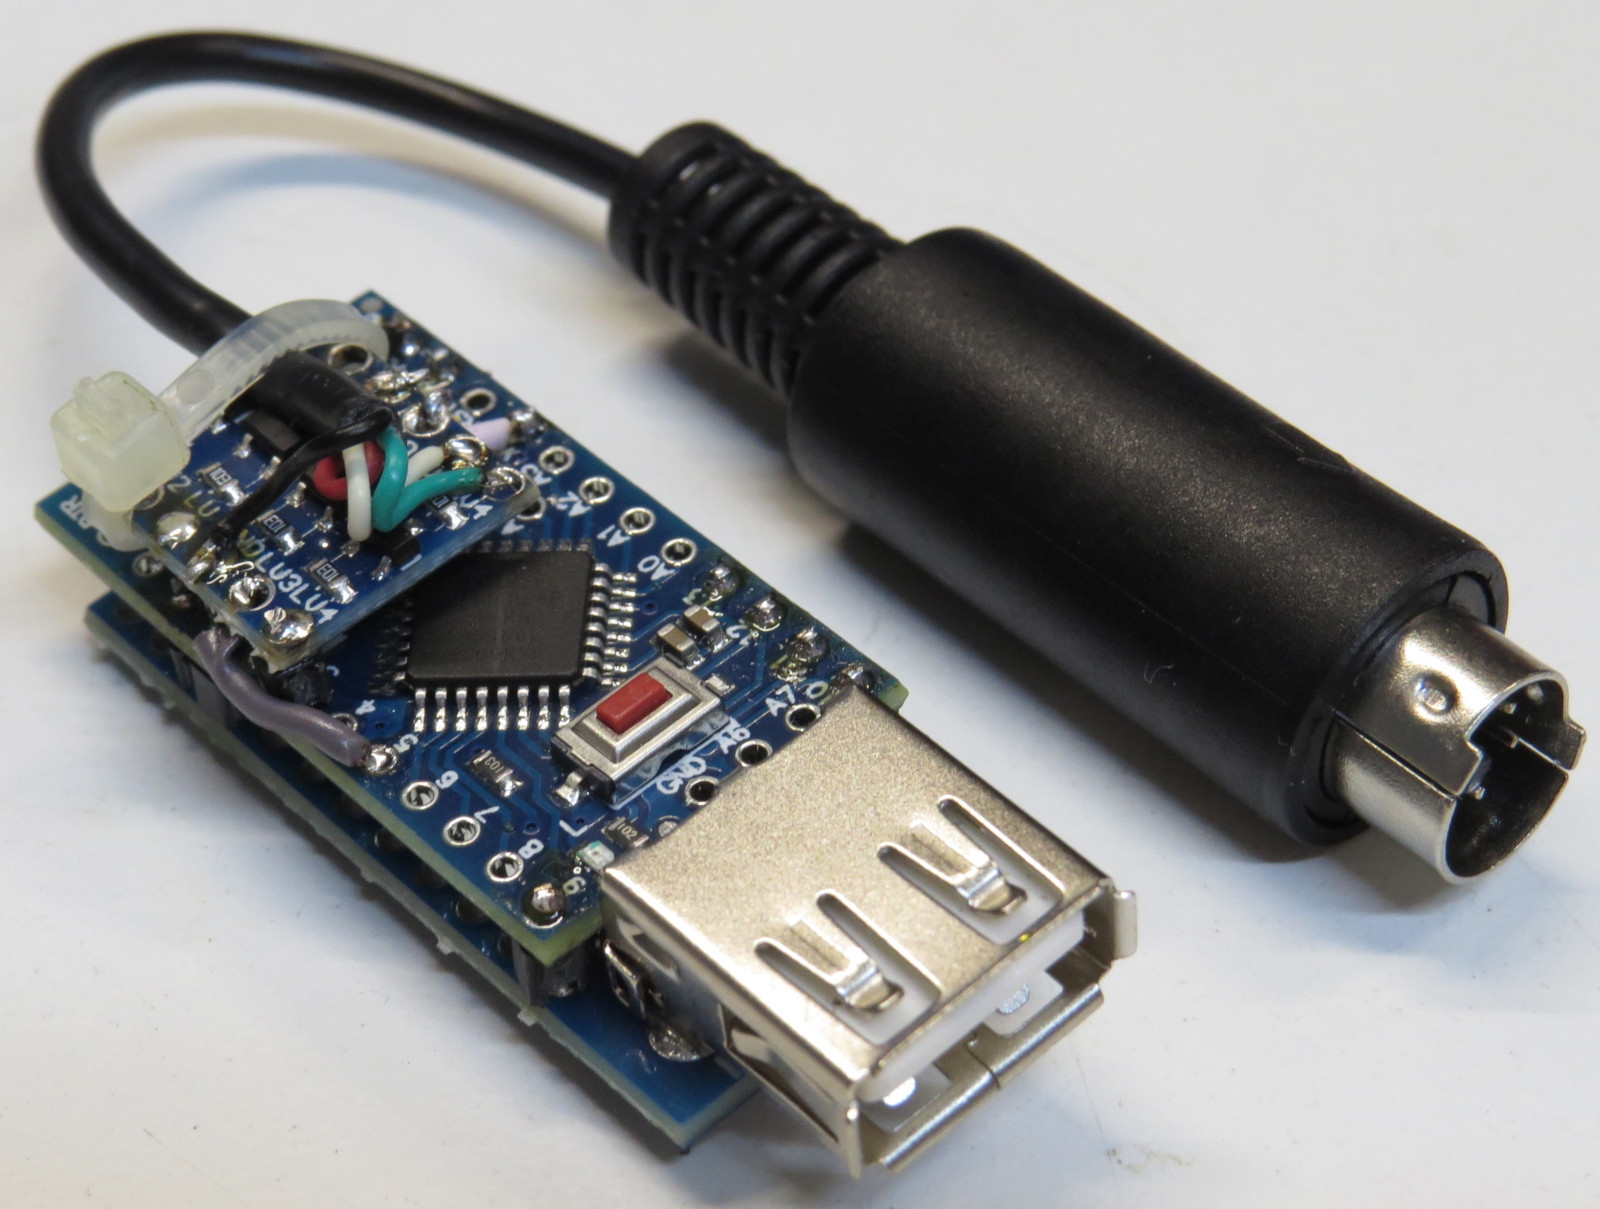
To prevent wires from breaking, use a small zip tie to fasten it to Level Shifter:
Leave a Reply